Page 1 of 1
Changing the distributor cap and HT leads
Posted: Mon Jan 07, 2013 12:34 pm
by heavylevy
Hi There
Having just taken the plunge and spent £240.00 on a new distributor,rota arm and HT leads from mazda.I thought i would check out the forum on how to fit the cap and rota arm.I have used the search function but I dont get any threads on how to do it.They all state that they have changed the cap etc.This leads me to think thats its an easy job but lifting the passenger seat it looks a nightmare do you access it from under the van?Do you remove the auto gear selector? I think I can see one screw but I think theres 3.Also the rota arm is this screwed on or dos it just pull off.I think I should be ok with the leads if I label them.
Any help will be appreciated

regards
adrian
Re: Changing the dirtributor cap and HT leads
Posted: Mon Jan 07, 2013 12:59 pm
by rita
heavylevy wrote:Hi There
Having just taken the plunge and spent £240.00 on a new distributor,rota arm and HT leads from mazda.I thought i would check out the forum on how to fit the cap and rota arm.I have used the search function but I dont get any threads on how to do it.They all state that they have changed the cap etc.This leads me to think thats its an easy job but
lifting the passenger seat it looks a nightmare do you access it from under the van?Do you remove the auto gear selector? I think I can see one screw but I think theres 3.Also the rota arm is this screwed on or dos it just pull off.I think I should be ok with the leads if I label them.
Any help will be appreciated
regards
adrian
Lifting the seats....
http://www.youtube.com/watch?v=XyeHJUCXNVs
If its a V6 2xscrews hold the rotor arm.
Re: Changing the dirtributor cap and HT leads
Posted: Mon Jan 07, 2013 1:15 pm
by heavylevy
No sorry should of said ON lifting the passenger seat and then looking at the engine it does not look an easy job to change the cap and arm
cheers
Re: Changing the distributor cap and HT leads
Posted: Mon Jan 07, 2013 4:30 pm
by g8dhe
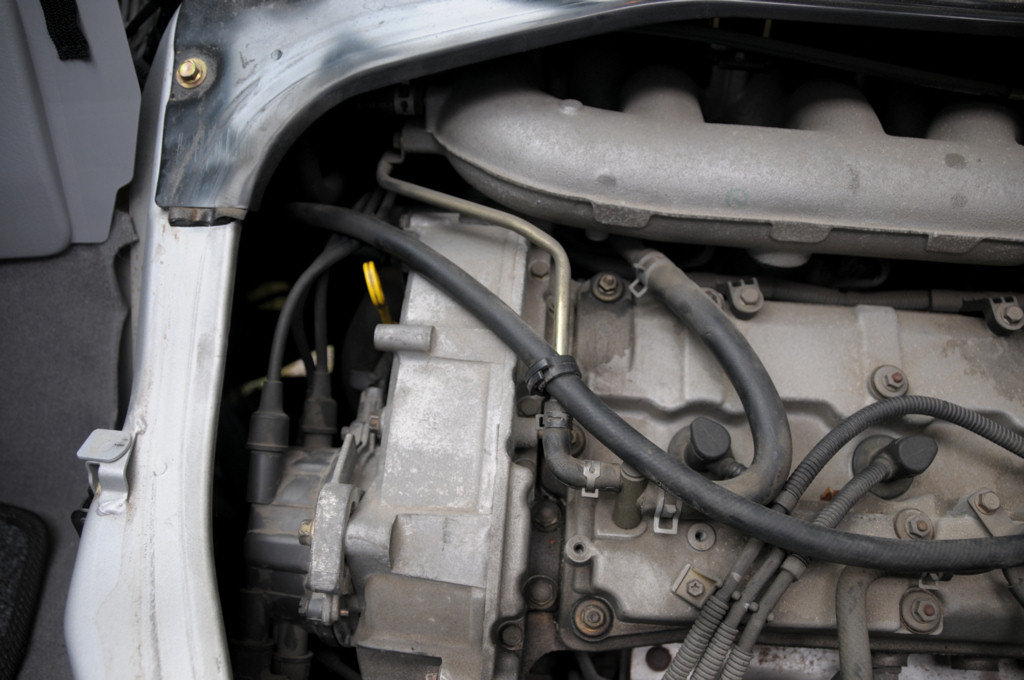
No you just reach round the front of the distributor cap from the passenger side, 3 screws;
http://lushprojects.com/bongopartsmk2/c ... mgno=.html
Probably a short stubby crosshead (Phillips) screwdriver would be best, you can see one screw head visible just below the set screw for the cap position, also worth marking the position of the adjustment so you can set it back again.
Re: Changing the distributor cap and HT leads
Posted: Mon Jan 07, 2013 11:54 pm
by Simon Jones
I've recently done this and was hoping to make a factsheet one of these days. To remove the cap you will need 8mm socket to undo 3 fixing bolts. They have a cross head slot on them as well, but are quite prone to getting mangled if they're done up tight.
The rotor arm is held on by one or two cross head screws (difficult to get to). Most important thing in to take lots of photos and note exactly what connects where. Someone previously linked to a website which shows the firing order, but there are some errors on it and it will not work.
The new HT leads will be labelled 1 to 6 and you should note exactly how each one is routed so you can get them back in correct order. If you get stuck, I'll post some photos of the cap, firing order etc.
Re: Changing the distributor cap and HT leads
Posted: Tue Jan 08, 2013 4:31 pm
by heavylevy
A BIG THANK YOU TO GEOFF AND SIMON

Re: Changing the distributor cap and HT leads
Posted: Tue Jan 08, 2013 7:47 pm
by Simon Jones
A few photos to get you started:
Distributor cap with the HT lead numbers:

Rotor arm with 2 mounting holes (old and new):

Rotor arm. Note the contact at the end has a special rough coating on, so you can't clean it with a piece of emery cloth as used to be the case on some older vehicles:

Old cap (slight wear on electrodes. Note: 2 are recessed flush to the plastic: that's normal):

New cap:

Re: Changing the distributor cap and HT leads
Posted: Tue Jan 08, 2013 10:41 pm
by haydn callow
easy job once you get the right tools and work out how to get at the screws......whilst I did mine I replaced the screws with allen socket head bolts to make it easy in future....however allow a hour to do the job including replacing the leads. Next time you do it about 30 mins